8T6K5
Full Access Member
- Joined
- Jun 22, 2012
- Posts
- 1,128
- Reaction score
- 124
- Location
- AZ
- First Name
- Jerry
- Truck Year
- 1986
- Truck Model
- K5
- Engine Size
- L98 350 TPI
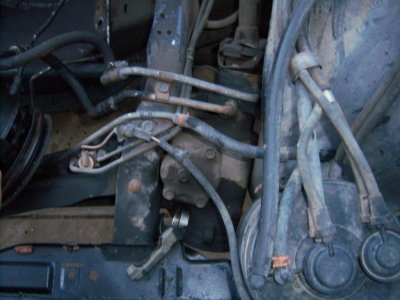
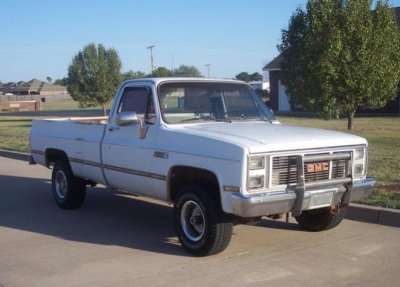
OK, been awhile since Ive really done anything to the truck. One of my biggest complaints has been its handling, especially at freeway speeds. Ive replaced the U/L ball joints-tire rod ends-drag link-steering arm-repacked bearrings-ORD steering box brace-ORD front shackles-calipers-balanced tires and Im still not happy.
Ill be replacing the setting box tomorrow and having a hd polyurathane rag joint put in as well. Hopefully that will help, or its onward up to the steering shaft.
In the meantime I added ORD's swaybay quick disconnect kit.
Drivers side OE
Pass side OE (EDIT: Drive side again, cant find pic of pass side).
ORD kit...pretty stout as with everything else Ive gotten from them
Drivers side with kit...
Again Drive side..... note the pin has to go in from the inside.
Pass side... again, pin in from outside (same way bolts go in).
Pass side again. Notice the bracket on top of the bump stop. Remove both pins, rotate the swaybar up and use a pin to lock it into the bracket. Wheel on.
Install was simple. Just need a 1 1/8" socket/box end to remove two bolts then install the new supplied bolts. Takes less that 30min - that includes taking pics
I also ordered new bushings all around which added a few minutes to the job. Just need two 11/16" sockets/wrenches to remove 4 nuts/bolts. BTW, they were a PITA to do, top two mainly, just hard to get at. Added about another 30-45min.
Basically this kit rasies the swaybar up about 2". Probably wont help much on a stock vehicle, but repositioning the swaybar on a lifted vehicle seems to be appropiate.
First impressions: simple install and I definately feel an improvement in handling and ride quality. Im very satisfied.
Ill be replacing the setting box tomorrow and having a hd polyurathane rag joint put in as well. Hopefully that will help, or its onward up to the steering shaft.
In the meantime I added ORD's swaybay quick disconnect kit.
Drivers side OE
You must be registered for see images attach
Pass side OE (EDIT: Drive side again, cant find pic of pass side).
You must be registered for see images attach
ORD kit...pretty stout as with everything else Ive gotten from them
You must be registered for see images attach
Drivers side with kit...
You must be registered for see images attach
Again Drive side..... note the pin has to go in from the inside.
You must be registered for see images attach
Pass side... again, pin in from outside (same way bolts go in).
You must be registered for see images attach
Pass side again. Notice the bracket on top of the bump stop. Remove both pins, rotate the swaybar up and use a pin to lock it into the bracket. Wheel on.
You must be registered for see images attach
You must be registered for see images attach
Install was simple. Just need a 1 1/8" socket/box end to remove two bolts then install the new supplied bolts. Takes less that 30min - that includes taking pics
I also ordered new bushings all around which added a few minutes to the job. Just need two 11/16" sockets/wrenches to remove 4 nuts/bolts. BTW, they were a PITA to do, top two mainly, just hard to get at. Added about another 30-45min.
Basically this kit rasies the swaybar up about 2". Probably wont help much on a stock vehicle, but repositioning the swaybar on a lifted vehicle seems to be appropiate.
First impressions: simple install and I definately feel an improvement in handling and ride quality. Im very satisfied.


