hey mister
Full Access Member
- Joined
- Jun 15, 2024
- Posts
- 302
- Reaction score
- 696
- Location
- North Coast
- First Name
- Marty
- Truck Year
- 1978
- Truck Model
- C10
- Engine Size
- 350
Good day group.
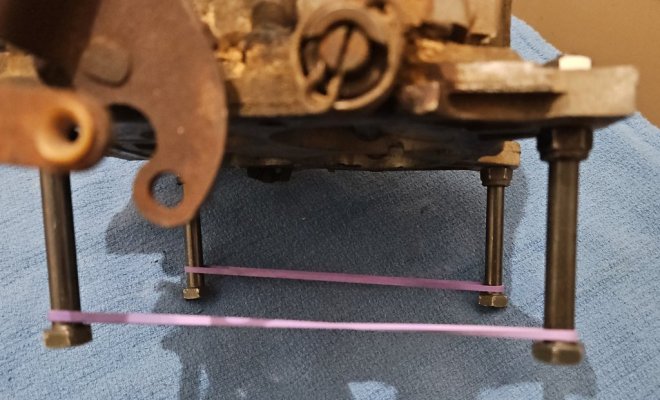
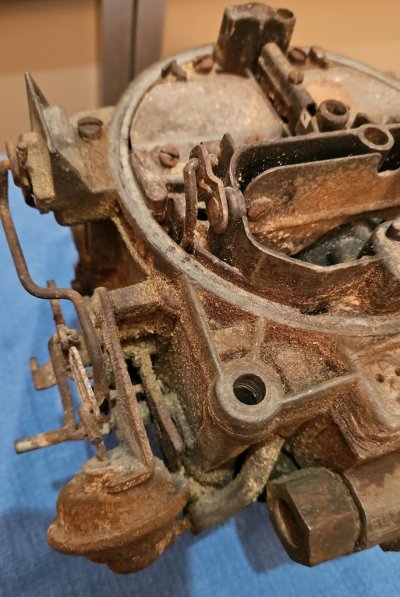
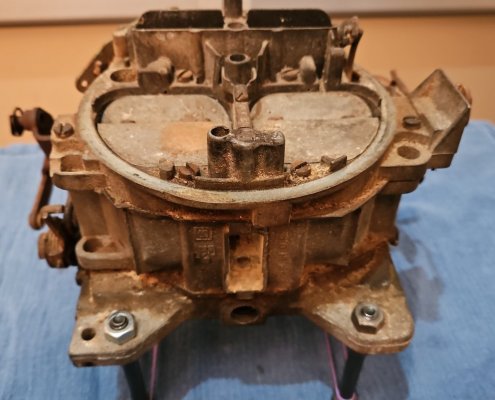
This thread is in reference to having bushings installed in the throttle plate of a Quadrajet; specifically the primary butterfly shaft bore.
But before I get too far into this, I need to make a couple of things very clear.
#1- Read this entire post completely...twice...then read it again.
Sorry, I will apologize now. As I get older, tolerance for stupid questions fades.
Nuf said...Let's move on.
#2- You will have to trust me when I say, I can rebush the throttle plate.
I have done 5 of them so far and 3 were not mine.
#3- Yes. You can buy a kit and do it yourself on a drill press.
If you have bought that kit and attempted to do that (and boogered up the job) do not ask me to fix it.
I must have the three bores the shaft rides in, to "set up" on. If you have cut into the bores, the chances of saving it are about zero...Sorry.
Here's the important stuff...
The primary shaft bores get the most wear. If the secondaries have a little play in them, it's no big deal. They are an "air gate" anyway and their operation is relatively infrequent. So a little shaft play is not an issue.
That's why, only the primary gets attention.
So, the primary shaft is steel and the plate is a die cast aluminum alloy, which is way softer than steel. That means the plate will wear more than the shaft. Hense the reason why the TB plate (throttle body) gets bushings installed.
So, what you must be very careful with is the green-ish coating on the shafts themselves. Do not, I repeat, do not remove, sand, scotchbrite, wire-wheel any of it. That green coating is like a Teflon coating. It is an anti-friction coating. Don't monkey with it. Also if the shaft is bent or twisted, it's probably no good. Find a replacement.
All that said, if you have good, un-molested parts, I can install 2 bushings in a couple hours, Lord willing.
And it will only cost you $50. + shipping both ways....keep reading...
Here's what you must do before you toss a carb at me.
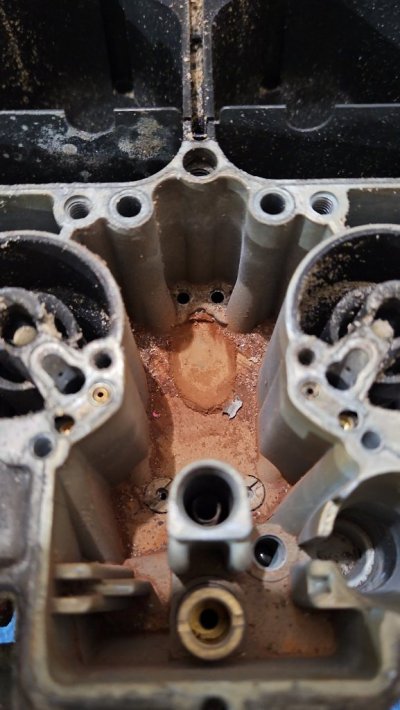
1) You have to take the carb apart and clean it up, as if you're eating dinner off it.
I suggest getting a bucket of carb cleaner with the parts basket in it. (Yea, it ain't cheap) But this is the heart of your engine and we're about to perform surgery, so get it clean.
I also suggest getting a book or two on rebuilding and tuning QJ's...and read them...all the way through..twice.
Like prevously mentioned, you will have to take your carb apart, completely.
That means the butterflies have to come off the shaft...All 4 of them.
I can hear it now.."But why the secondaries?"
Because there will be tiny aluminum chips everywhere and just 1 tiny chip in between any shaft and bore is instant death with 1 turn of the shaft. Remember (Clean is key)
You will have to completely dismantle the carb. And you will have to learn the technique for removing the tiny screws that hold the butterflies on the shaft, without damaging the butterflies, shaft or plate bores. That is critical.
Notice I didn't mention the screws. That's because the screws are only used once. They must be replaced with new screws that will not interfere with carb operation.
And if you bust off screws in the shaft, you will score up the shaft bores if you don't get all the screw out before attempting to remove the shaft. And you will probably twist the shaft and scrap the TB plate.
Well, now that you have read through this, hopefully twice and you have the desire to learn about rebuilding the QJ, get a couple of the books and read them twice. Save your questions till after you read the books.
Then reach out and we will talk.
Then after that, pull the carb, clean and dismantle.
Then we will talk again and determine if it's worth rebuilding and go from there.
That is the logical order.
You could search for a QJ ready for a rebuild. Read the books and dismantle that one. Just make sure you understand the QJ numbers and get a doner that will work.
Don't ask me about QJ numbers or if something will work for your application.
That's what the books, and your understanding of them is for.
I'm just putting bushings in the bores, in a highly precision manner.
In no particular order here's the books I have read and suggest. And availability may be scarce and only as a used book. Or you may be able to locate it as a .pdf in the Library of Congress.
- How to Rebuild and Modify Rochester Quadrajet Carburetors by Cliff Ruggles
ISBN: 978-1-932494-18-1
Rochester Carburators by Doug Roe
ISBN: 0-89586-301-4
The Quadrajet MPG Secret, Second Edition by Kevin R. Hill
ISBN: 9-781075307713
Haynes Techbook
Rochester Carburator Manual
ISBN: 1-56392-068-9
Let the fun commence!


